Loading manual…
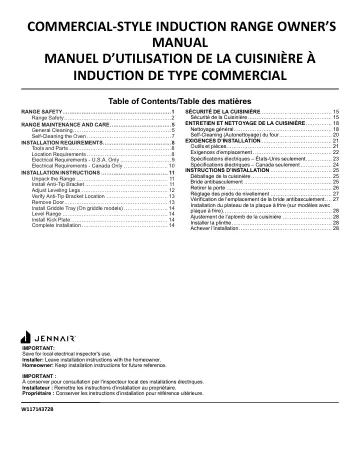
JennAir NOIR Induction Professional Range 36 Inch Wide (JPIFC736RM) installation instructions
- Type
- Installation instructions
- Languages
- English, French
- Pages
- 32
- Category
- Ovens & ranges
- Models
- JPIFC736RMJPIGC748RMRE................
Open PDFOpens the file on content.abt.com.
Contents
- Range Safetyp. 2
Your safety and the safety of others are very important. We have provided many important safety messages in this manual and on your appliance. Always read and…
- General Cleaningp. 5
IMPORTANT: Before cleaning, make sure all controls are off and the oven and cooktop are cool. Always follow label instructions on cleaning products. Soap…
- Self-Cleaning the Ovenp. 7
WARNING Burn Hazard Do not touch the oven during the Self-Cleaning cycle. Keep children away from the oven during Self-Cleaning cycle. Failure to follow these…
- Tools and Partsp. 8
Gather the required tools and parts before starting installation. Read and follow the instructions provided with any tools listed here. Tools needed n n…
- Location Requirementsp. 8
” section for installation requirements. Check local codes electrical supply. See the “Electrical Requirements” section. It is recommended that all electrical…
- Electrical Requirements - U.S.A. Onlyp. 9
WARNING Electrical Shock Hazard Electrically ground appliance. Failure to do so could result in death, fire, or electrical shock. Be sure that the electrical…
- Electrical Requirements - Canada Onlyp. 10
- Unpack the Rangep. 11
INSTALLATION INSTRUCTIONS Unpack Range WARNING Excessive Weight Hazard Use two or more people to move and install or uninstall appliance. Failure to do so can…
- Install Anti-Tip Bracketp. 11
WARNING Tip Over Hazard A child or adult can tip the range and be killed. Install anti-tip bracket to floor or wall per installation instructions. Slide range…
- Adjust Leveling Legs_5255 7365 2014 7682 7683 5332 9377p. 12
Floor Mounting B A A. #12 x 15⁄8" (4.1 cm) screws B. Anti-tip bracket Wall Mounting A B A. #12 x 15⁄8" (4.1 cm) screws B. Anti-tip bracket 4. Using a Phillips…
- Verify Anti-Tip Bracket Locationp. 13
1. Using a 5/16" (7.9 mm) socket or wrench, turn all four leveling rods one full turn to raise the range and provide enough clearance for the rear leveling leg…
- Remove Doorp. 13
Door Removal n Do not remove the side door spacers until the range is ready to install. Removing the door spacers could allow the door to shift, damaging the…
- Install Griddle Tray (On griddle models)p. 14
The griddle is factory installed. 1. Place drip tray in the well at the front of the griddle. Slide tray toward the back until it stops. A B A. Griddle drip…
- Level Rangep. 14
NOTE: Range must be level for satisfactory baking performance
- Install Kick Platep. 14
NOTE: Door must be removed in order to remove or replace kick plate. Refer to the “Remove Door” section. Align kick plate over the kick plate slots and push…
- Complete Installationp. 14
1. Check that all parts are now installed. If there is an extra part, go back through the steps to see which step was skipped. 2. Check that you have all of…
Other documents for this model
- JennAir RISE 30 In. Stainless Steel Slide (JGS1450ML) installation instructions
- JennAir ADA RISE 30 In. Stainless Steel Slide (JES1750ML) installation instructions
- JennAir NOIR 36 In. Floating Glass Black (JGRP436HM) installation instructions
- JennAir NOIR 36 In. Stainless Steel Dual Fuel Professional Range (JDRP436HM) installation instructions
- JennAir NOIR Induction Professional Range 36 Inch Wide (JPIFC736RM) installation instructions
- JennAir NOIR Induction Professional Range 36 Inch Wide (JPIFC736RM) installation instructions
- JennAir NOIR Professional Induction Range 30 Inch (JPIFC730RM) installation instructions
- JennAir NOIR Professional Induction Range (JPIGC748RM) installation instructions
- JennAir NOIR Professional Induction Range (JPIGC748RM) user manual
- JennAir Smoke Brass Dual Fuel Professional Range (TANKMAN50) installation instructions