Loading manual…
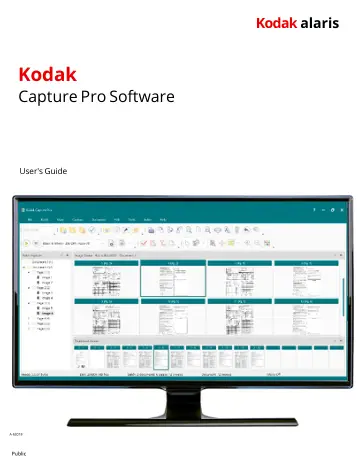
Kodak Capture Pro (1258599) user manual
- Type
- User manual
- Language
- English
- Pages
- 58
- Category
- Desktops & servers
- Models
- 1136936119571811971361517861156186915782441610005176299617929281840859184335818460701906379Capture ProCapture Pro, Indexing, 3 Years
Open PDFOpens the file on objects.icecat.biz.
Contents
- Terminologyp. 5
Before you begin a basic understanding of some of the terminology used in Capture Pro Software is helpful: Capture Pro Software is “job” based, so a • Job: a…
- Creating a new batchp. 9
When you want to scan documents, you need to create a new batch or open an existing batch to scan the documents into. In most cases your system administrator…
- Editing optionsp. 14
Before outputting your batch, review your images to be sure they are as you want them. If you need to make some adjustments, tools are available for your use.…
- Rotating imagesp. 14
, deleting images, cropping images, etc.). Procedures for splitting and merging images can be found in the Administrator’s Guide for Kodak Capture Pro…
- Drawing a regionp. 15
The Draw Region tool allows you to draw a rectangle around a portion of an image, then blank the area inside the rectangle using Blank or crop the image to the…
- Cropping imagesp. 15
You can crop an area outside a rectangular region that you create using the Draw Region tool and using the Crop option. 1. Click on the image in Batch Explorer…
- Main windowp. 20
of Capture Pro Software, as well as descriptions of the menu bar, toolbars and viewers. Main window The Main window has the following components. 1 Program…
- Menu barp. 22
The Menu bar provides the following menu items: File, Batch, View, Capture, Document, Edit, Tools, Index, and Help
- File menup. 22
The File menu contains the following options: Job Setup — displays the Job Setup dialog box, which allows you to set up all the parameters for a job setup. See…
- Setting up your workstationp. 23
When you select File > Workstation Setup, the Workstation Setup screen is displayed. From this screen you can setup the workstation information and choose the…
- View menup. 26
The View menu contains the following options: Image Viewer Display — allows you to select a grid of 1, 2, 4 or 8 images to display in the Main window.…
- Capture menup. 27
The Capture menu contains the following options: Start — enables the scanner and starts the transport. Keyboard shortcut: F7. Stop — clears and stops the…
- Document menup. 28
The Document menu contains the following options: New — creates a new document with a document number equal to the last document number plus "1". Keyboard…
- Edit menup. 29
The Edit menu contains the following options: Undo — reverts one level of the last action. If an action cannot be undone, a message will be displayed. Keyboard…
- Tools menup. 30
The Tools menu contains the following options: Selector — displays the Pointer tool, which allows you to select images. You may also select images using the…
- Index menup. 34
The Index menu contains the following options: Edit Index Fields — provides access to the index fields at the batch and document levels. It also allows you…
- Using Database Lookupp. 35
After scanning has been performed and the user enters Indexing mode (Index > Edit Index Fields), the Lookup will always be performed on a document whenever the…
- Entry Resolutionp. 37
The Entry Resolution dialog box is displayed when the second index value does not match the first index value. The index operator has the following choices: •…
- Help menup. 38
The Help menu contains the following options: Help — takes the user to the Manuals & Guides section of the Capture Pro Software Support web page. Keyboard…
- Toolbarsp. 39
Capture toolbar The Capture toolbar contains the following commands: Start — starts scanning images on the scanner. Stop Scan — stops scanning images. Page…
- Capture toolbarp. 39
The Capture toolbar contains the following commands: Start — starts scanning images on the scanner. Stop Scan — stops scanning images. Page Setup name — select…
- View toolbarp. 40
The View toolbar contains the following commands: Selector — displays the pointer tool, allowing you to select images. Selection mode — select Image, Page or…
- Flag toolbarp. 41
The Flag toolbar contains the following commands: Flag Tool — allows you to flag a page or image. For example, you may want to permanently identify images that…
- Batch Explorerp. 44
The Batch Explorer displays all the document folders, page and image files for the batch that is currently open in the
- Image Viewerp. 44
It automatically appears on the left side of the Main window when the Enhanced layout is active. • Click an image file in Batch Explorer and the image will be…
- Appendix A Keyboard Shortcutsp. 56
Depending on where you are working in Capture Pro Software the following shortcuts are available: • F1-Help is available everywhere in Capture Pro Software.…