Loading manual…
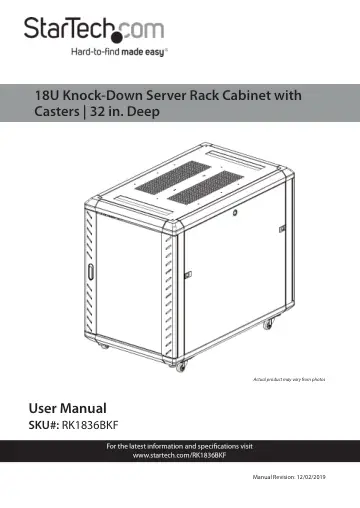
StarTech.com RK1836BKF user manual
- Type
- User manual
- Language
- English
- Pages
- 24
- Category
- Desktops & servers
- Models
- RK1836BKF
Open PDFOpens the file on objects.icecat.biz.
Contents
- Warning Statementsp. 3
Make sure that you assemble this product according to the instructions. • Do not exceed the weight capacity of this product. Overloading this product might…
- Safety Statementsp. 9
Safety Measures • Cables (including power and charging cables) should be placed and routed to avoid creating electric, tripping or safety hazards. Mesures de…
- Product Diagramp. 11
Front View 1 Top Panel 5 Caster/Leveling Feet 2 Plastic Corner Caps 6 Bottom Panel 3 Center Beam 7 Side Panel 4 Front Door 8 Rear Door 1 2 3 4 5 6 7 8
- Front Viewp. 11
Top Panel 5 Caster/Leveling Feet 2 Plastic Corner Caps 6 Bottom Panel 3 Center Beam 7 Side Panel 4 Front Door 8 Rear Door 1 2 3 4 5 6 7 8
- Product Dimensionsp. 12
- Frontp. 12
- Sidep. 13
- Product Informationp. 14
Package Contents • Side Panels x 2 • Center Beams x 4 • Bottom Panels w/ Cable Management Slot x 2 • Bottom Panel x 1 • Front Door x 1 • Rear Door x 1 •…
- Requirementsp. 15
Spirt/Bubble Level x 1 • 14 mm Wrench x 1 • (Optional) Cage Nut Tool x 1
- Assembling the Server Rackp. 16
1. Align the Screw Holes on the corners of the Side Panel with the Screw Holes on the ends of the Center Beam. Ensure that the Lip on the Center Beams lines up…
- Leveling the Server Rackp. 19
The Server Rack will need to be properly level prior to installing any rack equipment, to ensure stability. The surface the Server Rack is located on must also…
- Grounding the Enclosurep. 20
Note: This product must be grounded. Do not use this prod uct without an earth ground connection. 1. Use an M6 Screw to attach a grounding wire to the…
- Installing Equipmentp. 20
Note: When you load equipment into this product, load the heaviest equipment in the bottom rails first. Continue loading equipment in a descending order of…
- Adjusting the Mounting Railsp. 21
1. Each Mounting Rail has four M6 Screws securing the Mounting Rail to two Depth Adjustment Rails. Two M6 Screws are located at the top and two M6 Screws are…