Loading manual…
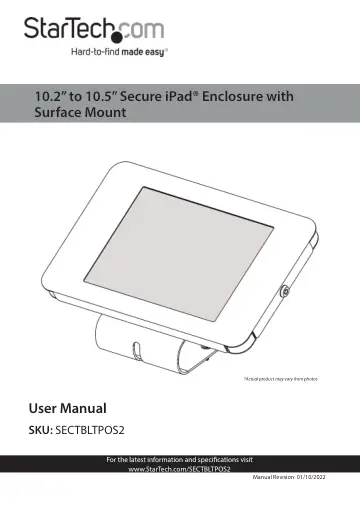
StarTech.com Secure Tablet Stand (SECTBLTPOS2) user manual
- Type
- User manual
- Language
- English
- Pages
- 22
- Category
- Tablets
- Models
- SECTBLTPOS2
Open PDFOpens the file on objects.icecat.biz.
Contents
- Product Diagramp. 9
Front View Angled Bracket Tablet Enclosure Assembly Lock
- Front Viewp. 9
Angled Bracket Tablet Enclosure Assembly Lock
- Product Dimensionsp. 10
Note: All measurements are in millimeters
- Front Viewp. 10
- Rear Viewp. 10
- Bottom Viewp. 10
- Edge Viewp. 10
- Side Viewp. 11
- Product Informationp. 11
Requirements For the latest manuals, product information, technical specifications, and Declarations of Conformance, please visit: www.StarTech.com/SECTBLTPOS2…
- Requirementsp. 11
For the latest manuals, product information, technical specifications, and Declarations of Conformance, please visit: www.StarTech.com/SECTBLTPOS2 • Phillips…
- Installationp. 14
Note: Do not overtighten any of the screws. Pinch hazards! Keep hands away from any pinch points created by the mechanical components. Failure to do so may…
- Add the iPad to the Tablet Enclosure Assemblyp. 14
Unlock the Tablet Enclosure Assembly 1. Insert the Key into the Lock, located on the side of the Tablet Enclosure Assembly, and turn counterclockwise to…
- Unlock the Tablet Enclosure Assemblyp. 14
1. Insert the Key into the Lock, located on the side of the Tablet Enclosure Assembly, and turn counterclockwise to unlock. (Figure 1) 2. Remove the Front…
- Add the Felt Tape to the Front Platep. 15
1. Remove the Adhesive Backing from the 200 x 5 mm Felt Tape (x 2) and affix to the long edges of the inside of the Display Frame, located on the Front Plate.…
- Add the Foam Blocks to the Rear Platep. 15
1. Remove the Adhesive Backing from the 20 x 15 x 3 mm EVA Pads (x 4) and affix to the inside edge of the Tabs (x 4), located on the inside of the Rear Plate.…
- Insert the iPad into the Tablet Enclosure Assemblyp. 16
1. Insert the Power/Data Cable through one of the openings, located in the rear/sides of the Rear Plate, and into the iPad. (Figure 5) 2. Place the iPad into…
- Mounting the Angled Bracketp. 17
Remove the Adhesive Backing from the Rubber Pads (x 4) and affix to the base of the Angled Bracket. (Figure 7)
- Mounting Option #1 - Tabletop- Fixedp. 17
1. Place the Angled Bracket in the intended mounting location, on a Tabletop. 2. Mark the location of the Screw Holes (x 3), using a Pencil. 3. Remove the…
- Mounting Option #2 - Tabletop - Rotatingp. 18
1. Place the Angled Bracket onto the intended mounting location, on a Tabletop. 2. Mark the location of the Screw Hole, located closest to the front of the…
- Mounting Option #3 - Wall Mountp. 19