Loading manual…
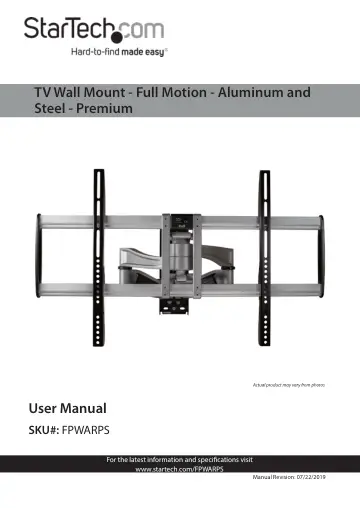
StarTech.com Full Motion TV Wall Mount (FPWARPS) user manual
- Type
- User manual
- Language
- English
- Pages
- 24
- Category
- TVs
- Models
- FPWARPS
Open PDFOpens the file on objects.icecat.biz.
Contents
- Compliance Statementsp. 2
Use of Trademarks, Registered Trademarks, and other Protected Names and Symbols This manual may make reference to trademarks, registered trademarks, and other…
- Safety Statementsp. 3
Safety Measures • Product installation and/or mounting should be completed by a certified professional as per the local safety and building code guidelines. •…
- Warning Statementsp. 4
Make sure to assemble this product according to the instructions. Failure to do so might result in personal injury or property damage. • Make sure that the…
- Product Diagramp. 10
Product Dimensions Note: All measurements are listed in millimeters. Front View Side View
- Product Dimensionsp. 10
Note: All measurements are listed in millimeters. Front View Side View
- Product Partsp. 11
Angled View Decorative Covers TV Wall-Mount Assembly Vertical Brackets
- Technical Specificationsp. 12
Type of Measurement Measurement VESA Mounting Hole Pattern Minimum: 200x100 Maximum: 810x500 Weight Capacity Up to 165 lb. (75 kg) Tilt +150 to -150 Screen…
- Product Informationp. 13
Package Contents • Vertical Brackets x 2 • 6 mm Hex Key x 1 • Vertical Bracket Screws x 2 • M4 x 12 mm Screws x 4 • M4 x 18 mm Screws x 4 • M5 x 12 mm Screws x…
- Requirementsp. 13
VESA Mount Compatible Display • Phillips Head Screwdriver • Mounting Surface
- Installationp. 14
Prepare FPWARPS for Mounting 1. Remove the two Decorative Covers: Release the two Tabs found on the inside of the Decorative Covers by applying pressure to…
- Prepare FPWARPS for Mountingp. 14
1. Remove the two Decorative Covers: Release the two Tabs found on the inside of the Decorative Covers by applying pressure to both sides of the Decorative…
- Fasten the Mount to a Wallp. 15
Warning! The Wall Mount is designed to be installed on a wood stud, solid concrete, or cinder block wall. The wall structure should be capable of supporting at…
- Mount the TVp. 16
1. Place your TV on a padded surface, screen side down, so that you can access the back of the TV. 2. Identify and remove the pre-installed VESA Hardware from…
- Cable Managementp. 19
1. Route your Power and Video Cables up through the lower Decorative Cover. (Figure 7) Figure 6 Vertical Bracket Phillips Head Screw Figure 7 TV Wall-Mount…
- Operationp. 20
Adjust the TV Caution! Ensure that your fingers are clear from all moving parts and pinch points while adjusting your TV. (Figure 9) Figure 9
- Adjust the TVp. 20
Caution! Ensure that your fingers are clear from all moving parts and pinch points while adjusting your TV. (Figure 9) Figure 9