Loading manual…
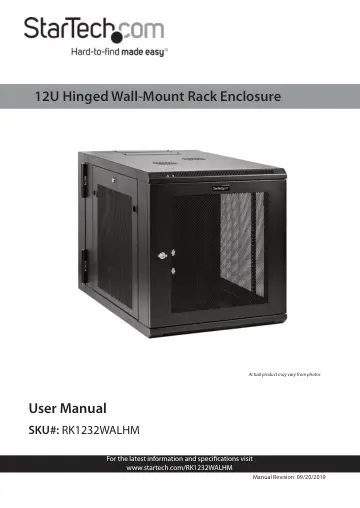
StarTech.com RK1232WALHM user manual
- Type
- User manual
- Language
- English
- Pages
- 23
- Category
- Desktops & servers
- Models
- RK1232WALHM
Open PDFOpens the file on objects.icecat.biz.
Contents
- Compliance Statementsp. 2
Use of Trademarks, Registered Trademarks, and other Protected Names and Symbols This manual may make reference to trademarks, registered trademarks, and other…
- Safety Statementsp. 3
Safety Measures • Wiring terminations should not be made with the product and/or electric lines under power. • Product installation and/or mounting should be…
- Warning Statementsp. 4
Make sure that you assemble this product according to the instructions. • Do not exceed the weight capacity of this product. Overloading this product might…
- Product Diagramp. 10
Front Door 5 Cable Access Cover 2 Rear Door 6 Cable Access Opening 3 Horizontal Mounting Rail 7 Side Panel 4 Vertical Mounting Rail 8 Vent 1 2 3 7 4 8 5 6 7 5…
- Product Informationp. 11
Package contents • Wall-Mount Enclosure x 1 • 1U Shelf x 1 • Roll of Hook-and-Loop Fastener x 1 • 12-24 Cage Nuts x 48 • 12-24 Screws x 48 • Door Keys x 2 •…
- Requirementsp. 11
are subject to change. For the latest requirements, please visit www.StarTech.com/RK1232WALHM. • Phillips Head Screwdriver • Appropriate tools and mounting…
- Ground the Enclosurep. 12
To view manuals, videos, drivers, downloads, technical drawings, and more visit www.startech.com/support Grounding Wire Locking or Unlocking the Front or Rear…
- Lock or unlock the front or rear doorp. 13
- Remove the side panelsp. 13
- Installing the Side Panelsp. 14
To put the Side Panels back on the Enclosure: 1. Place one of the Side Panels in the groove at the bottom of the Enclosure. 2. Pull the two Tabs on the Side…
- Access your cablesp. 15
- Replacing the Cable Coversp. 16
1. Place the Cable Access Cover over the Cable Access Opening. 2. Insert the Screws through the Cable Access Cover and into the Enclosure. 3. Use a Phillips…
- Reverse the front doorp. 16
of the Enclosure so that it opens to the left or right of the Enclosure. 1. In the inside top corner of the Front Door, pull the Lever down and move the top…
- Adjust the depth of the mounting railsp. 18
The Mounting Rails come pre installed in the Enclosure. Both the Front and Back Mounting Rails can be adjusted independently in 3/4 inch (20 mm) increments.…
- Using the Mounting Rail Tapped Holesp. 19
Warning! Do not attempt to adjust the Mounting Rails when equipment is installed in the enclosure. Remove the equipment first before you adjust the mounting…
- Mount the enclosure to the wallp. 19
- Install equipmentp. 20