Loading manual…
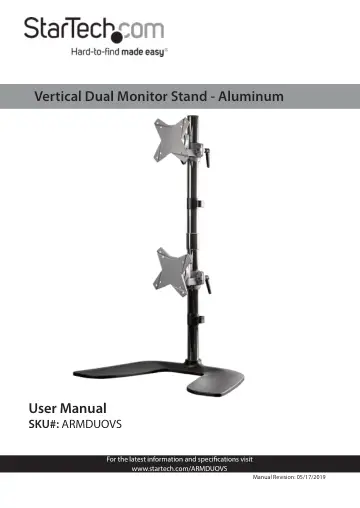
StarTech.com Vertical Dual Monitor Stand (ARMDUOVS) user manual
- Type
- User manual
- Language
- English
- Pages
- 29
- Category
- Monitors
- Models
- ARMDUOVS
Open PDFOpens the file on objects.icecat.biz.
Contents
- Compliance Statementsp. 2
Use of Trademarks, Registered Trademarks, and other Protected Names and Symbols This manual may make reference to trademarks, registered trademarks, and other…
- Safety Statementsp. 3
Product installation and/or mounting should be completed by a certified professional as per the local safety and building code guidelines. • Cables (including…
- Warning Statementsp. 4
Make sure to assemble this product according to the instructions. Failure to do so might result in personal injury or property damage. • Make sure that the…
- Product Informationp. 8
Package Contents VESA Mounts x 2 Lower Pole x 1 Upper Pole x 1 Pole Connector x 1 Base x 1 Cable- Management Hooks x 2 Cable- Management Hook Screws x 2 M4 x…
- Product Diagramp. 9
VESA Mount VESA Mount Upper Pole Cable-Management Clip Pole Connector Lower Pole Cable-Management Clip Base Height- Adjustment Knob Height- Adjustment Knob…
- Product Dimensionsp. 10
- Technical Specificationsp. 11
Type of Measurement Measurement VESA Mounting Hole Pattern 75x75 100x100 Weight Capacity Up to 17.6 lb. (8 kg) Per Monitor Tilt +150 to -150 Maximum Screen…
- Requirementsp. 12
For the latest requirements, please visit www.StarTech.com/ ARMDUOVS. • Two Monitors Note: Both Monitors must conform to the size, weight, and VESA pattern…
- Assemblyp. 13
Warning! Make sure that the weight of the Monitors does not exceed the weight capacity of this product. If you exceed the weight capacity, you might experience…
- Attach the Cable-Management Hooksp. 13
1. Place the two VESA Mounts upside down on your Desk. 2. Place the Cable-Management Hooks onto the corresponding circular indentations on the VESA Mounts. 3.…
- Attach the Lower Columnp. 14
1. Loosen the Hex Screws that are located on the Base using the 3 mm Hex Key. 2. Screw the Lower Pole onto the Base. 3. Tighten the Hex Screws that are located…
- Attach the Lower VESA Mountp. 15
1. Loosen the Height-Adjustment Knob on one of the VESA Mounts. 2. Slide one VESA Mount over the Lower Pole. (Figure 3) Note: Do not tighten the…
- Attach the Upper VESA Mountp. 15
1. Loosen the Hex Screws on the Pole Connector using the 3 mm Hex Key. 8 Figure 3
- Attach the Monitorsp. 18
ARMDUOVS is designed to be used with Monitors that are the same size and weight. If you attach Monitors that are different sizes and weights to the ARMDUOVS…
- Cable Managementp. 22
1. Connect the Power and Video Cables to each Monitor. 2. Route the Power and Video Cables through the Cable- Management Hooks. 3. Route the Power and Video…
- Monitor Placementp. 22
Warning! Lifting the Monitor Mount Assembly is a twoperson job. Do not attempt to complete this task by yourself. Tipping hazard! ARMDUOVS is free-standing and…
- Operationp. 23
Adjust the Monitor Height Warning! Adjusting the Monitor height is a two-person job. Do not attempt to complete this task by yourself. 1. Person one: hold the…
- Adjust the Monitor Heightp. 23
Warning! Adjusting the Monitor height is a two-person job. Do not attempt to complete this task by yourself. 1. Person one: hold the Monitor in place. 2.…
- Adjust the Swivelp. 24
ARMDUOVS comes ready for swivel adjustments. Your Monitors can easily be adjusted by swivelling the Monitors from side to side. To increase or reduce the…
- Adjust the Tilt and Rotationp. 25
ARMDUOVS comes ready for tilt and rotation adjustments. Your Monitors can easily be adjusted by tilting the Monitors forwards or backwards, or side to side.…
- Quickly Removing a VESA Mountp. 26
1. Remove the two Hex Screws on the rear of the VESA Mounts using the 3 mm Hex Key. (Figure 14) Figure 14
- Quickly Attaching a VESA Mountp. 27
1. Align the VESA Mount with the VESA Mount Holder and slide the VESA Mount down aligning the Hex Screw Hole on the VESA Mount with the Hex Screw Hole on the…