Loading manual…
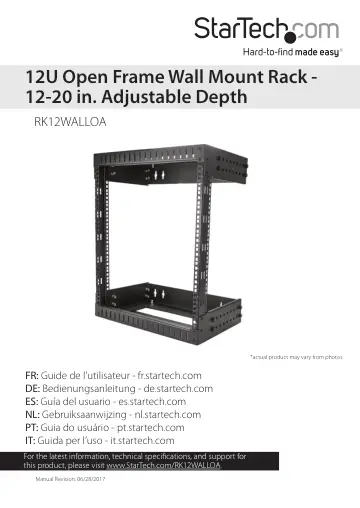
StarTech.com RK12WALLOA user manual
- Type
- User manual
- Languages
- English, German, Spanish, French
- Pages
- 15
- Category
- Desktops & servers
- Models
- RK12WALLOA
Open PDFOpens the file on objects.icecat.biz.
Contents
- Product diagramp. 6
- Product dimensionsp. 7
Back view Front view Top view Minimum depth 305 mm 12 in. 504 mm 20 in. 508 mm 20 in. 504 mm 20 in. Top view Maximum depth 305 mm 12 in. 406 mm 16 in. 504 mm…
- Adjustment optionsp. 8
mm 12 in. 330 mm 13 in. 356 mm 14 in. 508 mm 20 in. You can adjust the depth in increments of 25 mm (1 in.) from 305 mm (12 in.) to 508 mm (20 in.). Side view
- Requirementsp. 9
Phillips type screwdriver • Appropriate tools and mounting hardware for the type of wall that you’re using Requirements are subject to change. For the latest…
- Assemblyp. 10
To make the assembly easier to complete, consider assembling the RK12WALLOA with another person’s assistance
- Assemble the bracketsp. 10
The RK12WALLOA features adjustable brackets that you can set to the depth that you require. The adjustment holes on the brackets are spaced 25 mm (1 in.)…
- Attach the vertical railsp. 11
1. Place one of the vertical rails inside one of the bracket assemblies and line up the assembly holes. 2. At the front and side of the front horizontal…
- Attach the bracket assemblyp. 11
1. Turn the other bracket assembly over and place the front horizontal bracket over the vertical rails. 2. At the front and side of the front horizontal…
- Mount the RK12WALLOA on a wallp. 12
Warning! Remove all equipment from the wall-mount rack before you attempt to mount it on a wall. Warning! Wall structures vary and it is important to make sure…
- Install equipmentp. 13
Warning! Do not add equipment to the wall-mount rack until it is securely attached to the wall. Warning! When you load equipment into the wall-mount rack, load…
- Technical supportp. 14
StarTech.com’s lifetime technical support is an integral part of our commitment to provide industry-leading solutions. If you ever need help with your product…
- Warranty informationp. 14
This product is backed by a five-year warranty. StarTech.com warrants its products against defects in materials and workmanship for the periods noted…