Loading manual…
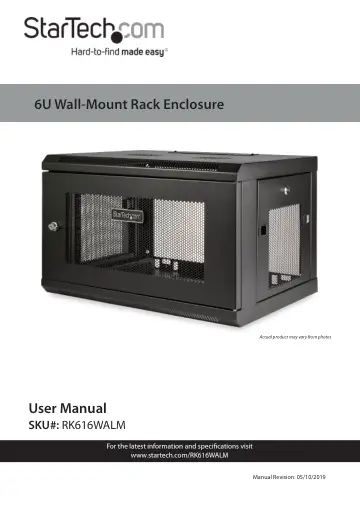
StarTech.com RK616WALM user manual
- Type
- User manual
- Languages
- English, German
- Pages
- 25
- Category
- Desktops & servers
- Models
- RK616WALM
Open PDFOpens the file on objects.icecat.biz.
Contents
- Warning Statementsp. 3
Read the entire manual and make sure that you understand the instructions before you start to assemble and use this product. Wall structures vary, and it is…
- Product Diagramp. 12
Front Door 5 Cable Access Openings (x 2) 2 Side Panels (x 2) 6 Mounting Plate 3 Vents 7 Top Panel 4 Cable Access Covers (x 2) 8 Bottom Panel 1 2 2 3 3 4 4 5 5…
- Product Informationp. 13
Package Contents • Wall-Mount Enclosure x 1 • 1U Shelf (CABSHELFV1U) x 1 • Roll of Hook-and-Loop Fastener x 1 • 12-24 Cage Nuts x 24 • 12-24 Screws x 24 • Door…
- Requirementsp. 13
Phillips™ type screwdriver • Appropriate tools and mounting hardware for the type of wall you’re using Note: The images in this manual depict RK920WALM. This…
- Grounding the Wall-Mount Enclosurep. 14
Warning! This product must be grounded. Do not use this product without an earth ground connection. 1. Use an M6 Screw to attach a Grounding Wire to the front…
- Locking or Unlocking the Front Doorp. 15
To lock or unlock the front door of the enclosure, insert one of the provided Door Keys in the Lock on the Front Door on the Wall-Mount Enclosure and turn the…
- Removing the Side Panelsp. 15
1. If the Side Panels are locked, use one of the provided Side Panel Keys to unlock the Side Panels. 2. Pull the two Tabs on the Side Panel towards the center…
- Replacing the Side Panelsp. 16
1. Place one of the Side Panels in the groove at the bottom of the Wall-Mount Enclosure. 2. Pull the two Tabs on the Side Panel towards the center of the…
- Removing the Cable Access Coverp. 16
Both the top and bottom panels of the enclosure have cable access covers that you can remove to access and manage your cables. 1. Use a Phillips Head…
- Replacing the Cable Access Coverp. 17
1. Align the Cable Access Cover with the Cable Access Opening. 2. Use a Phillips Head Screwdriver to insert the four Screws through the Cable Access Cover and…
- Reversing the Front Doorp. 18
To accommodate different rack configurations, you can reverse the Front Door of the Wall-Mount Enclosure so that it opens to the left or right of the…
- Adjust the Depth of the Mounting Railsp. 19
The Mounting Rails come pre installed in the Wall-Mount Enclosure. The Mounting Rails can be adjusted independently in 3/4 inch (20 mm) increments to…
- Use the Mounting Rail Tapped Holesp. 20
The Mounting Rails come pre installed with the Cage Nut Holes facing outward. However, the Mounting Rails can be adjusted so that you can use the Tapped Holes…
- Mount the Enclosure to the Wallp. 21
Warnings! Remove all equipment from the enclosure before you attempt to mount the enclosure to the wall. Wall structures vary and it is important to make sure…
- Installing Equipmentp. 22
Warnings! Do not add equipment to the Wall-Mount En closure until the enclosure is securely attached to the wall. When you load equipment into this product…