Loading manual…
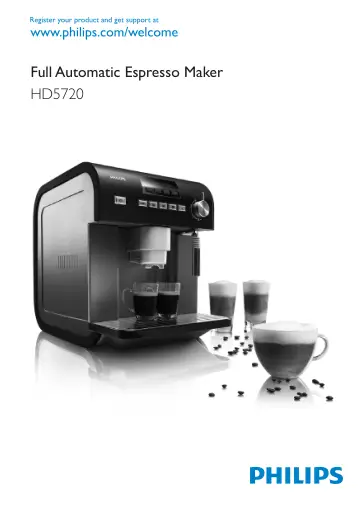
Philips Full Automatic Espresso Maker (HD5720) user manual
- Type
- User manual
- Language
- English
- Pages
- 126
- Category
- Coffee machines
- Models
- HD5720
Open PDFOpens the file on ot-dam.versuni.com.
Contents
- Introductionp. 6
Important 6 Inside of espresso maker 7 Outside of espresso maker 7 Getting started 8 Using the espresso maker 10 Setting menu parameters 15 Cleaning 21…
- Importantp. 6
Inside of espresso maker 7 Outside of espresso maker 7 Getting started 8 Using the espresso maker 10 Setting menu parameters 15 Cleaning 21 Replacement 25…
- Inside of espresso maker (Fig. 1)p. 7
A Grinding coarseness knob B Coffee bean container C Brewing unit D Service door with slide-out tray E Removable waste bin F Drip tray cover G Removable drip…
- Outside of espresso maker (Fig. 2)p. 7
A Lid of ground coffee compartment B Display 1 MENU button 2 ^ Button down 3 % Button up 4 OK button C Lid of coffee bean container D Coffee spout E Steam pipe…
- Getting startedp. 8
Before first use Never install the appliance in environments where the temperature may drop to 0° or below. If the water inside the appliance freezes, the…
- Using the espresso makerp. 10
Heating up 1 Press the on/off button 3. ,, The display shows the message ‘HEATING UP...PLEASE WAIT’ to indicate that the appliance is heating up. ,, When the…
- Setting menu parametersp. 15
When you have switched on the appliance and the appliance is ready for use, you can access the menu to perform certain actions and modify certain parameters.…
- Cleaningp. 21
Let the appliance cool down and unplug it before you clean it. Never immerse the appliance in water or any other liquid. Never use scouring pads, abrasive…
- Replacementp. 25
You can order various removable parts from your Philips dealer or a Philips service centre
- Disposalp. 25
Do not throw away the appliance with the normal household waste at the end of its life, but hand it in at an official collection point for recycling. By doing…
- Guarantee and servicep. 25
If you need service or information or if you have a problem, please visit the Philips website at www.philips.com or contact the Philips Consumer Care Centre in…
- Explanation of display messagesp. 25
Message Meaning What to do NO WATER! -Fill water tank- The water tank is empty or is positioned incorrectly. Fill the water tank (see section ‘Preparing for…
- Troubleshootingp. 26
If you are unable to solve the problem with the information below, contact the Consumer Care Centre in your country (see chapter ‘Guarantee and service’).…