Loading manual…
GE JSS16PDWH installation instructions
Open PDFOpens the file on images.salsify.com.
Contents
- Before You Beginp. 1
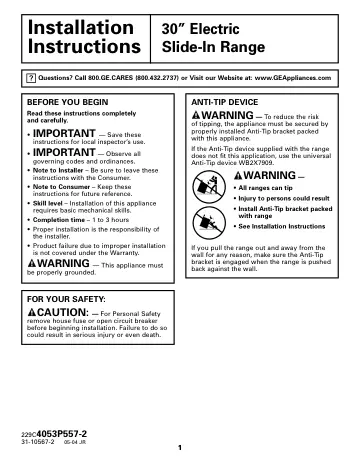
Read these instructions completely and carefully. • IMPORTANT — Save these instructions for local inspector’s use. • IMPORTANT — Observe all governing codes…
- For Your Safetyp. 1
CAUTION: — For Personal Safety remove house fuse or open circuit breaker before beginning installation. Failure to do so could result in serious injury or even…
- Anti-Tip Devicep. 1
WARNING — To reduce the risk of tipping, the appliance must be secured by properly installed Anti-Tip bracket packed with this appliance. If the Anti-Tip…
- Prepare to Install the Rangep. 2
TOOLS YOU WILL NEED Straight Edge Drill with 1/8″ Bit Hand or Saber Saw Pencil Safety Glasses Tape Measure REMOVE SHIPPING MATERIALS Remove all parts from the…
- For Your Safetyp. 2
All rough-in and spacing dimensions must be met for safe use of your range. Electricity to the range can be disconnected at the outlet without moving the range…
- Tools You Will Needp. 2
Straight Edge Drill with 1/8″ Bit Hand or Saber Saw Pencil Safety Glasses Tape Measure REMOVE SHIPPING MATERIALS Remove all parts from the plastic bag found…
- 1. Remove Shipping Materialsp. 2
- 2. Anti-Tip Device Installationp. 2
- 3. Minimum Clearancesp. 3
- 4. Preparationp. 4
Installation Instructions PREPARE TO INSTALL THE RANGE (CONT.) PREPARATION • Remove all tape and packaging. Be sure to remove clear plastic film that covers…
- 5. Prepare the Counterp. 4
- 6. Side Trim Extension Kitp. 5
Installation Instructions PREPARE THE COUNTER (CONT.) If you are using the Filler or Backguard: NOTE: If the distance from the back wall to the front of the…
- Electrical Connectionsp. 6
TO MAKE ELECTRICAL CONNECTION • Remove the junction block access cover (on range back). See Fig. 12A or 12B. SOME MODELS will have a one-piece wire cover shown…
- Electrical Requirementsp. 6
CAUTION: For personal safety, do not use an extension cord with this appliance. Remove house fuse or open circuit breaker before beginning installation. This…
- To Make Electrical Connectionp. 6
Remove the junction block access cover (on range back). See Fig. 12A or 12B. SOME MODELS will have a one-piece wire cover shown in Fig. 12B. When re-installing…
- 1. Power Cord and Strain Relief Installationp. 7
Installation Instructions 7 POWER CORD AND STRAIN RELIEF INSTALLATION • For power cord installations only (see the next step if using conduit), assemble the…
- 2. Conduit and Squeeze Connector Installationp. 7
- 3. 3-Wire Power Cord Installationp. 8
Installation Instructions 8 ELECTRICAL CONNECTIONS (CONT.) 4-WIRE POWER CORD INSTALLATION WARNING: The neutral wire of the supply circuit must be connected to…
- 4. 4-Wire Power Cord Installationp. 8
- 5. 3-Wire Conduit Installationp. 9
Installation Instructions 9 3-WIRE CONDUIT INSTALLATION Loosen the 3 lower terminal screws from the terminal block. Insert the center bare wire (white/neutral)…
- 6. 4-Wire Conduit Installationp. 9
- Install the Rangep. 10
REMOVE OVEN DOOR Before installing the range, you may remove the oven door to lessen the weight of the unit. DO NOT lift unit by door handle. To remove oven…
- 1. Remove Oven Doorp. 10
- 2. Level the Rangep. 10
- 3. Ranges Used with Countertop Heights up to 38"p. 11
Installation Instructions IMPORTANT INSTALLATION INSTRUCTIONS FOR RANGES USED WITH COUNTERTOP HEIGHTS UP TO 38″ The height of the range must be adjusted to the…