Loading manual…
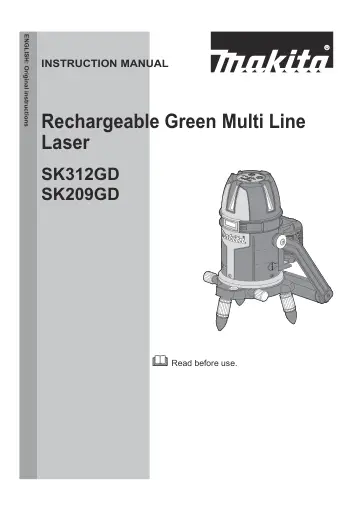
Makita SK209GDZ user manual
Open PDFOpens the file on cdn.makitatools.com.
Contents
- SPECIFICATIONSp. 3
SK312GD SK209GD Laser source Line beam: Green semiconductor laser Lower dot beam: Red semiconductor laser Laser wavelength 510 to 530 nm (lower dot beam 650 to…
- Symbolsp. 4
The definitions below describe the level of severity for each signal word and the meaning of each symbol used in this manual. Please read the manual and pay…
- Intended usep. 4
The measuring tool is intended for levelling jobs with the use of horizontal lines, vertical lines and the plumb point
- Laser Beam Related Safety Standardsp. 4
- Safety Declarationp. 5
This product complies with the following standards: • EN61326-1: Electrical equipment for measurement, control and laboratory use – EMC requirements •…
- Noise Related Safety Standardsp. 6
FCC Part15 SubpartB/ICES 003 CAUTION Changes or modifications not expressly approved by the party responsible for compliance could void the user’s authority to…
- Safety Warningsp. 7
WARNING Read all safety warnings, instructions, illustrations and specifications provided with the product. Failure to follow all instructions listed below may…
- NAMES OF PARTSp. 13
1. Operation panel 2. Vertical laser beam exit window • SK312GD: 3 parts • SK209GD: 2 parts 3. Horizontal laser beam exit window 4. Circular level 5. Rotation…
- Optional Accessoriesp. 13
For details of options, either refer to the catalog or inquire at the store of purchase or a Makita sales office. CAUTION: These accessories or attachments are…
- Installing or removing battery cartridgep. 14
CAUTION • Always be sure that the tool is switched off and the battery cartridge is removed before adjusting or checking function on the tool. • Always switch…
- Battery Protection Systemp. 15
The battery is provided with a protection system for automatically turning output OFF to extend the life of the battery. This occurs due to the battery…
- Using the USB adapter (optional accessory)p. 16
1. Make sure that the product is turned OFF and remove the DC jack cover. Then, connect the DC jack plug of the power supply cable to the DC jack. 2. Connect…
- Using the Multi Line Laserp. 17
1. Installing the Multi Line Laser Set this product on a level surface. Turn the adjustment screw leg so that the bubble in the circular level comes to the…
- CHECKING THE ACCURACYp. 21
Should the line laser exceed the permissible difference during the checking, contact the store of purchase or a Makita authorized service center
- 1. Checking the horizontal linep. 21
A 5m B 1. Place the line laser near the center of a room with approx. 5 m walls. 2. Adjust the line laser so that the bubble in the level comes to the center…
- 2. Checking the plumbing point and vertical linep. 22
1. Set the "plumb" on the wall approx. 3 m above the floor. 2. Place the line laser 3 to 5 m away from the wall. 3. Adjust the attitude so that the bubble in…
- 3. Checking the 180°vertical linep. 23
B C A 1. Make a mark on the floor near the center of a room with 4 to 6 m walls. 2. Emit the vertical line beam. 3. Mark A near the center of the vertical…
- 4. Checking the 90°vertical linep. 24
C B A 1. Make a mark on the floor near the center of a room with 4 to 6 m walls. 2. Emit all vertical line beams. 3. Mark A near the center of the vertical…
- MAINTENANCEp. 26
CAUTION Always be sure that the tool is switched off and the battery cartridge is removed before attempting to perform inspection or maintenance. To maintain…